Facial Aligner
Straightens and crops a face into a standard square frame (the same layout used by face datasets such as FFHQ), using five landmark points. It also gives you the matrix needed to paste the edited face back later.
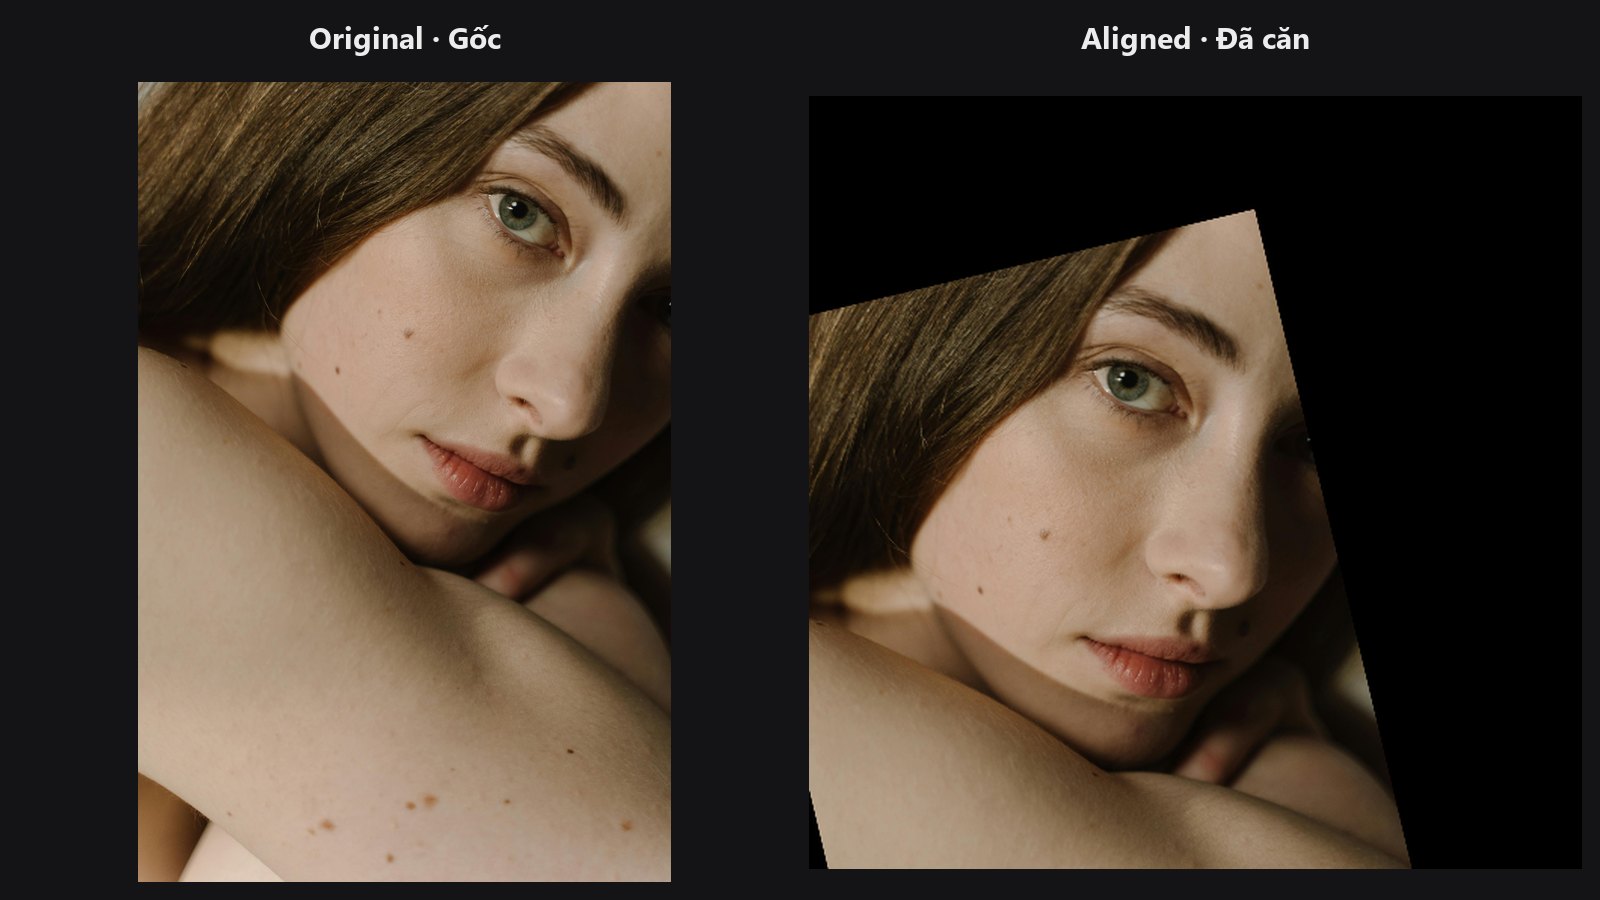
| In ComfyUI | Add Node → ComfyUI-JH-PixelPro → geometry → Landmark Facial Aligner |
| Good for | Preparing a face for AI face editing, upscaling or inpainting; consistent face crops for batches |
When to use it
Face models work best when the eyes, nose and mouth are always in the same place. This node rotates the picture so the eyes are level, scales it so the face has a fixed size, and crops a square. Hair and chin room is controlled by padding.
It is the first half of a round trip: align the face, edit the crop, then return it to the original photo with Unwrap Face using inverse_matrix_json.
Quick start
Load Image→ Face Detect Lite (or Face Detect).- Connect its
landmarks_jsonoutput to thelandmarksinput of Landmark Facial Aligner. - Choose
target_size(1024 is a good start) andpadding = 0.2. - Send
image_alignedtoPreview Image.
Settings
| Setting | Default | What it does | Tip |
|---|---|---|---|
image |
— | The portrait to align. | |
landmarks |
sample text for the sample portrait | Five points as JSON: left eye, right eye, nose, left mouth corner, right mouth corner. Pixel values or 0 to 1 values both work. | Connect it from a face-detection node instead of typing. |
target_size |
1024 |
Side of the square output: 512, 768 or 1024. | Smaller is faster; 1024 suits SDXL. |
padding |
0.2 (0 to 0.5) |
Space kept around the face. 0 is a tight crop, higher values show more hair and chin. | 0.2 to 0.3 for most portraits. |
| Output | Type | Meaning |
|---|---|---|
image_aligned |
IMAGE |
The aligned square face crop. |
inverse_matrix_json |
STRING |
The matrix that maps the crop back onto the original photo. Feed it to Unwrap Face. |
Tips from retouching
- Values of 1.5 or less are treated as 0 to 1 coordinates; larger values are treated as pixels.
- Use a wide-angle correction first (Lens Distortion) if the face is near the edge of a wide shot; stretched faces give less accurate landmarks.
- For a batch, give one set of landmarks per image (a list of five-point lists). One set is reused for every image.
Under the hood
The five points are matched to a canonical layout with a similarity transform (rotation, uniform scale, shift; Umeyama method), then applied with Kornia warp_affine to a target_size × target_size output. The inverse is returned as a 3×3 matrix. Landmarks must be non-negative; the node raises an error if they fall outside the image after normalisation. Only 512, 768 and 1024 are accepted for target_size. Source: core/facial_aligner.py and nodes/facial_aligner_node.py.
Related nodes
Example workflow
Facial Aligner example workflow. Copy workflows/sample_portrait.jpg into ComfyUI/input/. The default landmark text is set for that sample portrait.