Face Warp
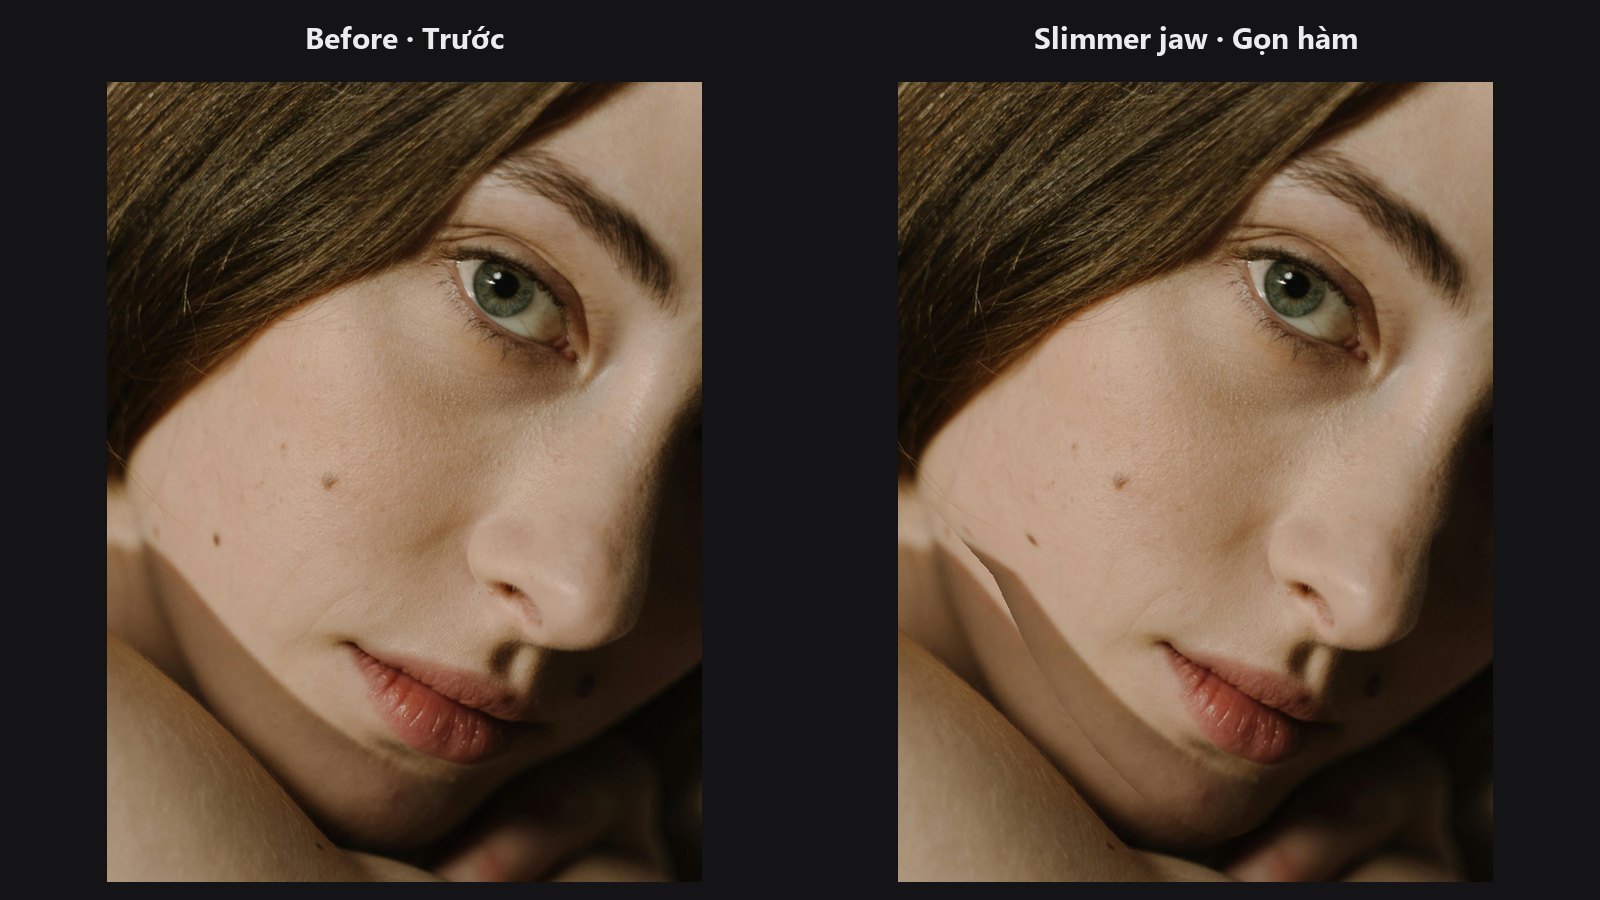
Moves the face from one set of landmarks to another, like a precise liquify driven by the face mesh. The result stays strictly inside the mesh, which keeps the background untouched.
| In ComfyUI | Add Node → ComfyUI-JH-PixelPro → face → Face Warp (Delaunay per-triangle) |
| Good for | Controlled face-shape changes; matching a face to another photo's shape; edits that must not leak outside the face |
When to use it
The node cuts the face into small triangles from the source landmarks (a Delaunay triangulation) and stretches each triangle to its new position. Every one of the 468 points is honoured locally.
Choose it when the change should stay confined to the face mesh. Choose Face Warp TPS instead for gentle, natural deformations where a triangle edge or kink would show. The Face category overview compares them side by side.
Quick start
- Run Face Landmarks on your photo and connect
landmarkstosrc_landmarks. - Get
dst_landmarksfrom a second Face Landmarks on the target picture (or an edited set of points). - Connect your
imageand checkwarpedin a Preview Image.
Settings
The node has no widgets, only inputs.
| Input | Type | What it does |
|---|---|---|
image |
IMAGE |
The photo to reshape. |
src_landmarks |
LANDMARKS |
Where the features are now. |
dst_landmarks |
LANDMARKS |
Where they should end up. |
| Output | Type | Meaning |
|---|---|---|
warped |
IMAGE |
The reshaped image. |
Tips from retouching
- Source and destination must come from the same layout (both 468-point). The node uses the first face of each.
- If a face is missing on either side, the image comes back unchanged.
- Big moves can show seams along triangle edges. Use Face Warp TPS for a smoother field.
- Warp first, retouch skin after, so texture work lands on the final shape.
Under the hood
Landmarks are read as normalised [0, 1] or pixel coordinates. Points that are not finite are dropped, and fewer than 3 valid pairs returns the image unchanged. SciPy builds the Delaunay triangulation on the source points, then OpenCV warps each triangle with an affine transform and composites it with anti-aliased edges. This runs on the CPU. The code lives in core/face_pipeline.py.
Related nodes
- Face Landmarks — supplies the points.
- Face Warp TPS — smooth alternative.
- Face Beauty Blend — blend the warped result back with a mask.
Example workflow
Face pipeline example workflow. Copy workflows/sample_portrait.jpg into ComfyUI/input/ first.