Luminosity Masking
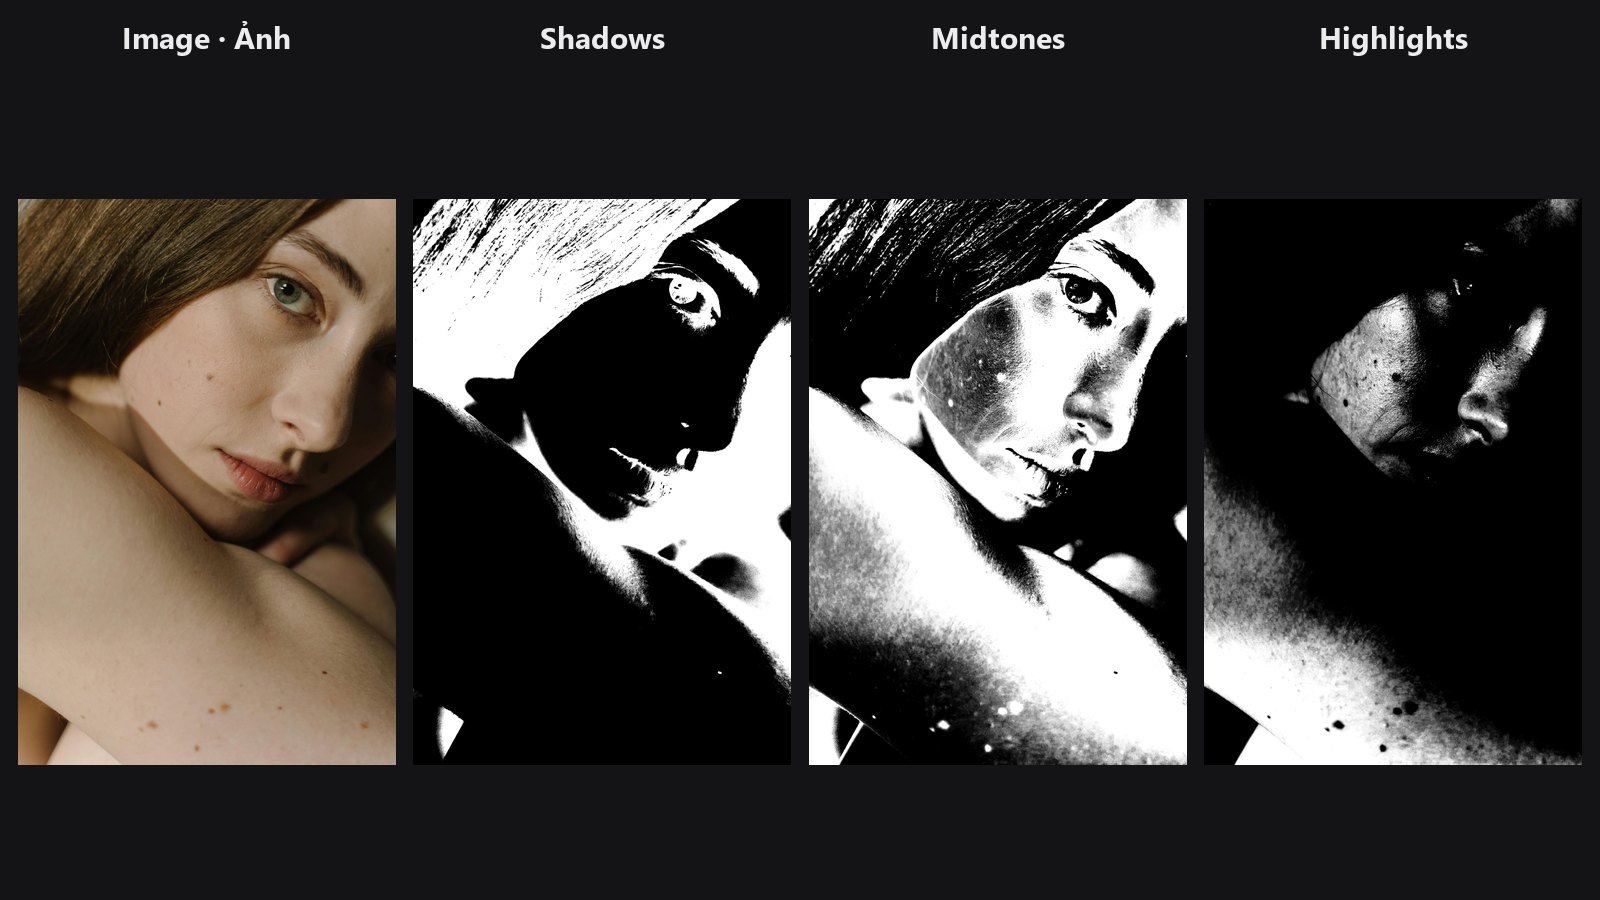
Splits a picture into three soft masks by brightness (shadows, midtones, highlights), the same idea as luminosity masks in Photoshop, so you can grade or retouch just one tonal range.
| In ComfyUI | Add Node → ComfyUI-JH-PixelPro → color → Luminosity Masking |
| Good for | Dodge and burn, grading shadows and highlights separately, protecting the highlights, selective sharpening or denoising |
When to use it
A luminosity mask selects pixels by how bright they are, not by where they are. That makes it a clean, edge-free selection: lift only the dark areas, cool only the highlights, or sharpen only the midtones, with no cutout to paint.
Here the three masks are soft and add up to 1 at every pixel, so shadows, midtones and highlights blend into each other without gaps or double coverage. You control where the bands change over (shadow_end, highlight_start) and how gradual the transition is (soft_edge).
Quick start
- Load Image → Luminosity Masking.
- Connect the
mask_shadowsoutput to Mask to Image → Preview Image to see the selection. - Use the mask as the mask input of any other node, for example Tone Curve or Color Matcher, to limit its effect to the shadows.
Settings
| Setting | Default | What it does | Tip |
|---|---|---|---|
image |
required | The picture to analyse. | |
luminance_source |
lab_l |
How brightness is measured. lab_l is perceptual (closest to what you see). ycbcr_y is fast and good for live previews. hsv_v is the simple maximum of R, G, B and less perceptual. |
lab_l for final work. |
shadow_end |
0.33 (0 to 0.5) | Brightness where the shadow band ends. | Lower for only the deepest shadows. |
highlight_start |
0.67 (0.5 to 1.0) | Brightness where the highlight band begins. Must be above shadow_end. |
Raise for only specular highlights. |
soft_edge |
0.1 (0.01 to 0.3) | Width of the smooth transition at both edges. Small gives sharper bands, large gives gentler blends. | 0.1 to 0.2 avoids banding in skin. |
Outputs: mask_shadows, mask_midtones and mask_highlights, each a soft mask from 0 to 1.
Tips from retouching
- For dodge and burn, use
mask_shadowsto lift detail andmask_highlightsto bring down blown areas. - Keep
soft_edgegenerous (0.15 or more) when masks will gate strong edits, so no tonal boundary shows. - Narrow the midtone band (move
shadow_endup andhighlight_startdown) to build a punchy "midtone only" mask for clarity or skin smoothing. - Combine two masks with Mask Combine (union, subtract, intersect and more) to make custom ranges such as "darks plus midtones".
- On large images,
ycbcr_yis far quicker thanlab_l, so use it for interactive previews and switch tolab_lfor the final run.
Under the hood
Brightness is computed in the chosen space: lab_l converts to linear RGB and uses the CIE L* (0 to 1), ycbcr_y the Kornia YCbCr Y channel, hsv_v the maximum channel. Shadows are 1 − smoothstep(shadow_end ± soft_edge/2), highlights are smoothstep(highlight_start ± soft_edge/2), and midtones are what remains (never below 0). The three are then divided by their sum, so they total 1 at every pixel. The code comments report roughly 120 ms for lab_l at 2K on CPU and roughly 7 ms for ycbcr_y at 1024 on CPU; treat these as indicative. shadow_end must be lower than highlight_start, and inputs outside 0..1 are clamped with a logged warning.
Related nodes
- Mask Combine: add, subtract or intersect the masks
- Tone Curve: apply a curve only to one range
- ColorLab: global tone and colour; use the masks to restrict it
- Frequency Separation: pair with a midtone mask for skin work
Example workflow
Luminosity Masking example workflow. Copy workflows/sample_portrait.jpg into ComfyUI/input/ first.