Color Matcher
Pulls the colours of a target image toward a reference image, the way you would match skin tones between two shots or pull an AI render back to the original plate.
| In ComfyUI | Add Node → ComfyUI-JH-PixelPro → color → Color Matcher (LAB) |
| Good for | Re-anchoring AI-generated skin to the source photo, matching a batch to one hero frame, harmonising inserts with a plate |
When to use it
Two photos of the same subject rarely agree on colour: different white balance, different light, or an AI pass that drifted warm. Color Matcher measures the overall colour "character" of the reference (the average and the spread of each channel) and reshapes the target to match it. This is the classic Reinhard colour transfer, done in CIE LAB, a colour space built around how people see colour, with lightness (L) separated from the two colour axes (a and b).
By default only the colour axes are matched (ab). Brightness and contrast stay as they were, so lighting is not washed out. Switch to lab when you also want the reference's overall brightness.
Need to match only a part of the picture, or use images of different sizes? Use Color Matcher Region.
Quick start
- Load the picture to fix with Load Image and connect it to
image_target. - Load the look you want with a second Load Image and connect it to
image_reference. It must have the same width and height as the target. - Leave
channelsonaband setstrengthto about 0.7. - Connect
image_matchedto Preview Image.
Settings
| Setting | Default | What it does | Tip |
|---|---|---|---|
image_target |
required | The picture that gets recoloured. | |
image_reference |
required | The picture whose colours you want. Same width and height as the target. A batch of 1 is reused for every target frame. | |
channels |
ab |
ab matches colour only and keeps the target's brightness. lab matches brightness as well. |
Use ab for skin and product work. |
strength |
1.0 (0 to 1) | Blend between the original (0) and the full match (1). | 0.6 to 0.8 looks most natural on skin. |
mask (optional) |
none | A mask that decides which pixels are used to measure the colour statistics, on both images. | See the note below. |
method (optional) |
stats |
stats matches the average and spread of each channel (smooth, safe). histogram matches the whole distribution of each channel, so shadows, mid-tones and highlights each land where the reference has them. |
Try histogram when stats gets close but not quite there. |
Output: image_matched, the recoloured image.
The mask picks what is measured, not where the result lands
The mask is used to measure the colour statistics (for example, only the skin pixels of both pictures). The resulting colour change is still applied to the whole target frame. To limit where the change shows up, use Color Matcher Region or blend the result back with a mask in your own chain.
Stats or histogram?
stats(default) shifts and stretches each channel so its average and spread equal the reference's. It is gentle and predictable, and the right choice for most skin and white-balance fixes.histogramreshapes each channel so its whole distribution (the histogram) follows the reference's. It fixes cases where two pictures share an average but feel different, for example a flat render against a contrasty photo. It is stronger, so lowerstrengthand watch for exaggerated noise or banding in smooth areas.
Old workflows keep working: when method is absent, stats is used.
Tips from retouching
- Keep
channelsonabfor portraits.labalso moves exposure and can flatten your lighting. - Use a mask over the skin on both pictures so a blue wall or green background does not skew the match.
- Do not push
strengthto 1.0 when the two pictures are very different (warm indoor vs. cool daylight). Go in at 0.6 and judge by the skin. - Run it before the final grade, so Tone Curve or ColorLab work on a consistent base.
Under the hood
Both images are converted with Kornia rgb_to_lab. For the chosen channels, the target is shifted and scaled so its mean and standard deviation equal the reference's: (target − mean_t) × (std_ref / std_t) + mean_ref. With a mask, mean and standard deviation are mask-weighted. The result is converted back to RGB, cleaned of NaN and clamped to 0..1, then blended with the original by strength. strength = 0 returns the input unchanged. Reference and target must share height and width; a mask must match them too and contain at least one positive pixel. Inputs outside 0..1 are clamped with a logged warning.
With method = histogram, each selected channel of the target and of the reference is binned into a 4096-bin histogram (weighted by the mask when there is one). Every target pixel is mapped to its quantile in the target CDF, then to the value at the same quantile in the reference CDF (linear interpolation inside bins). The blend by strength and the output path are the same as stats. It runs on the GPU in a few milliseconds at 2K and stays well under 1 GB.
Related nodes
- Color Matcher Region: match one region to another, any image sizes
- Skin Tone Tri-Region: build skin masks to feed into the match
- Tone Match LUT: turn a graded reference into a reusable LUT
- ColorLab: fine-tune after matching
Example workflow
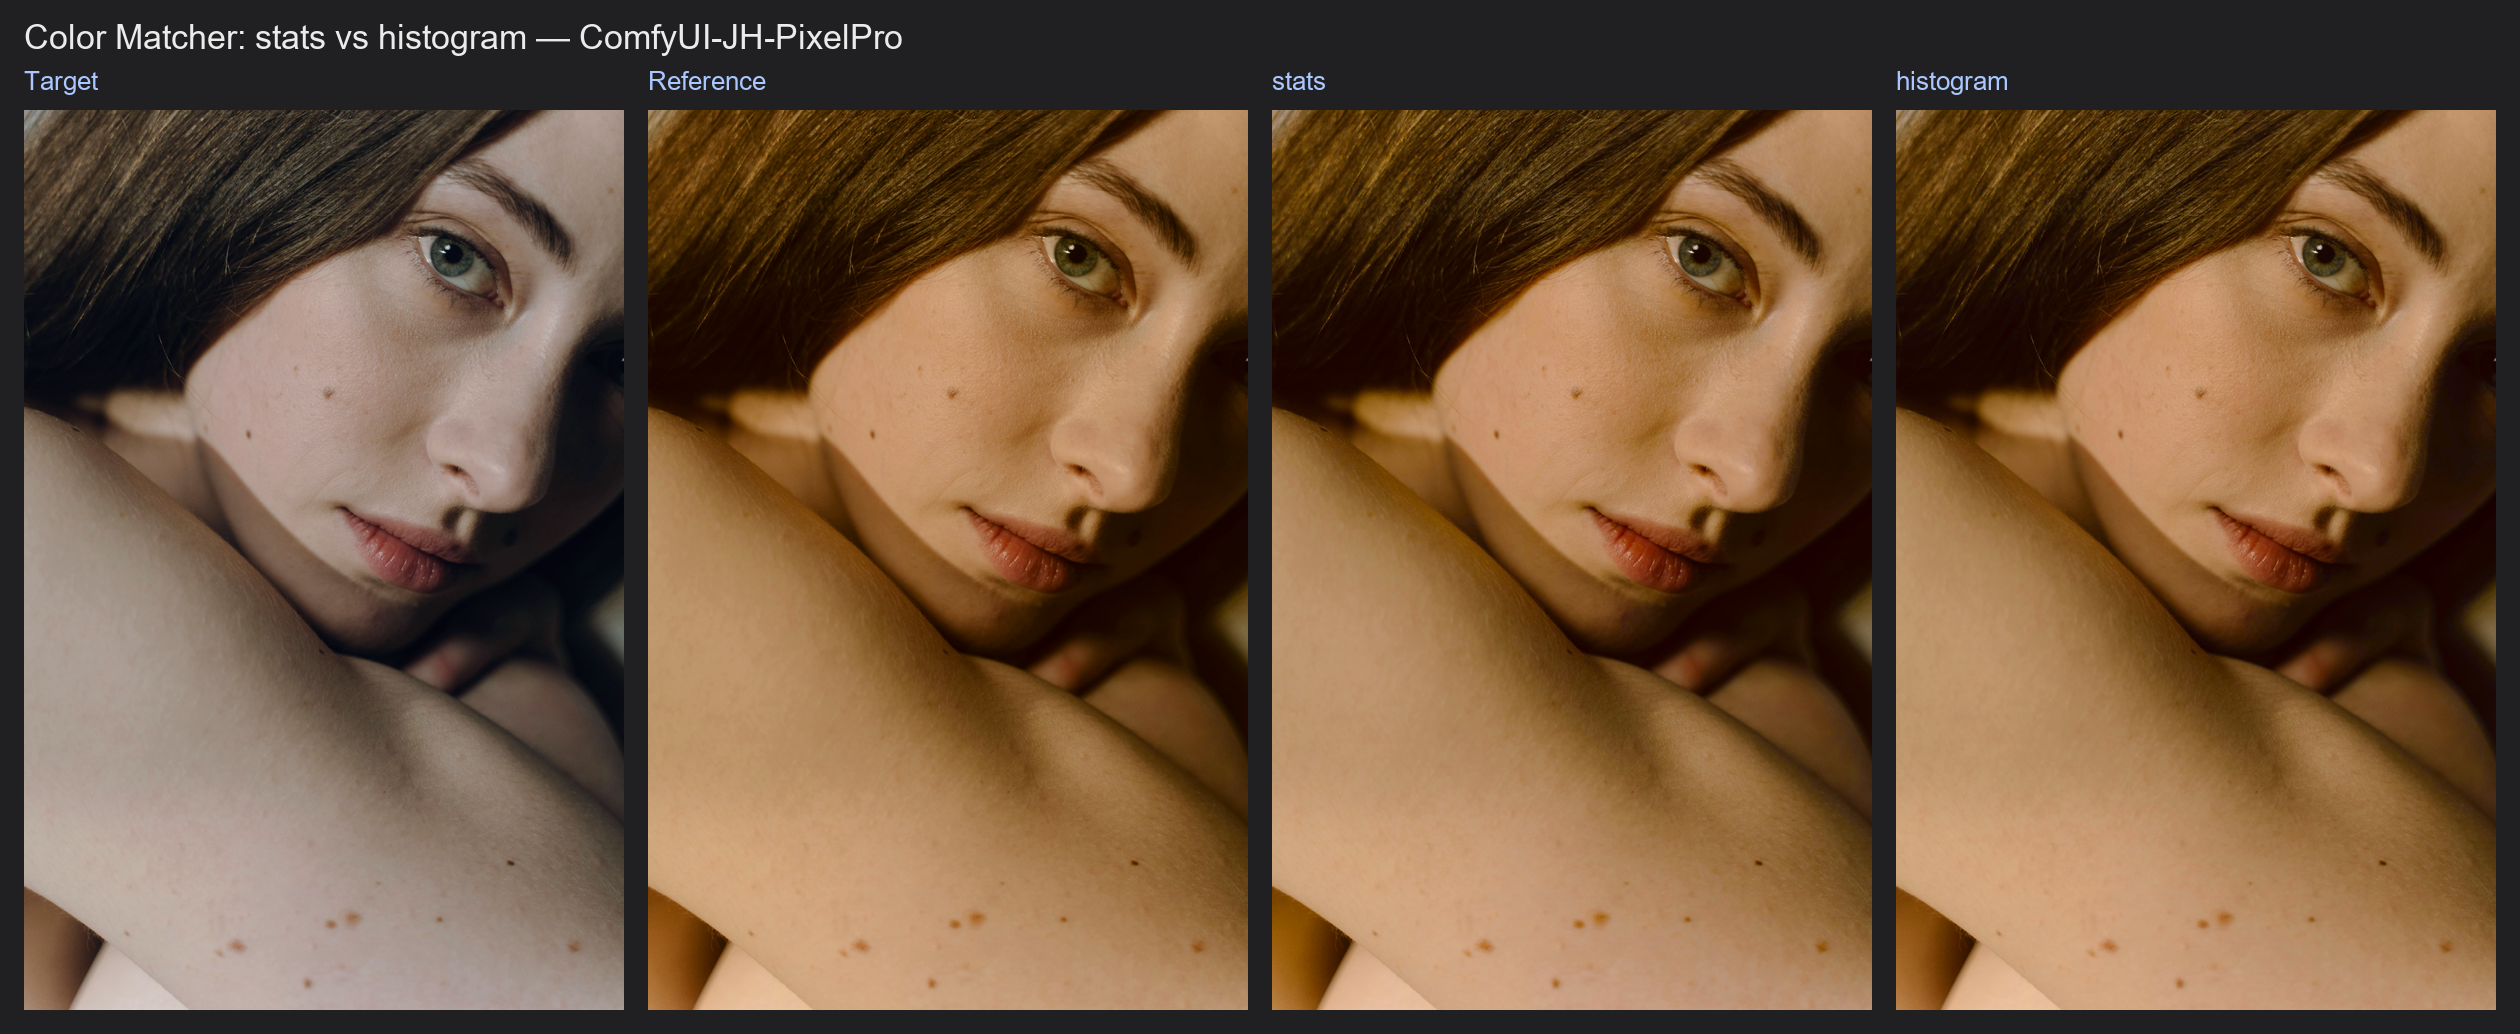
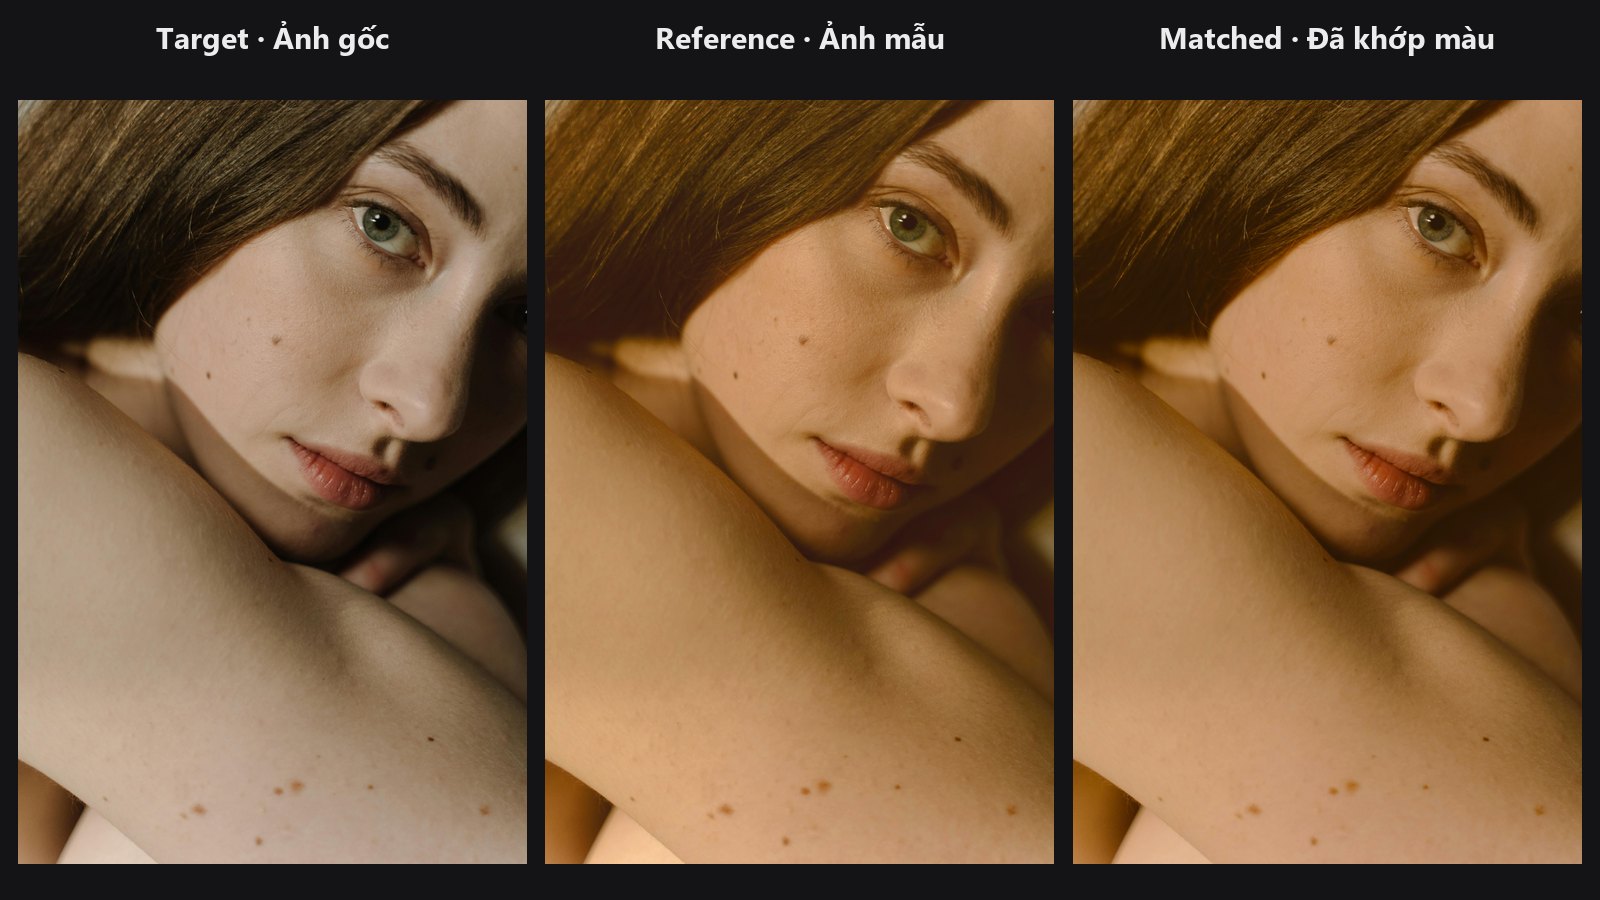
Color Matcher example workflow. A cool-graded copy of the portrait is the target and a golden-hour copy is the reference; Color Matcher transfers the reference colour in LAB. Copy workflows/sample_portrait.jpg into ComfyUI/input/. It uses only core ComfyUI nodes and this pack.
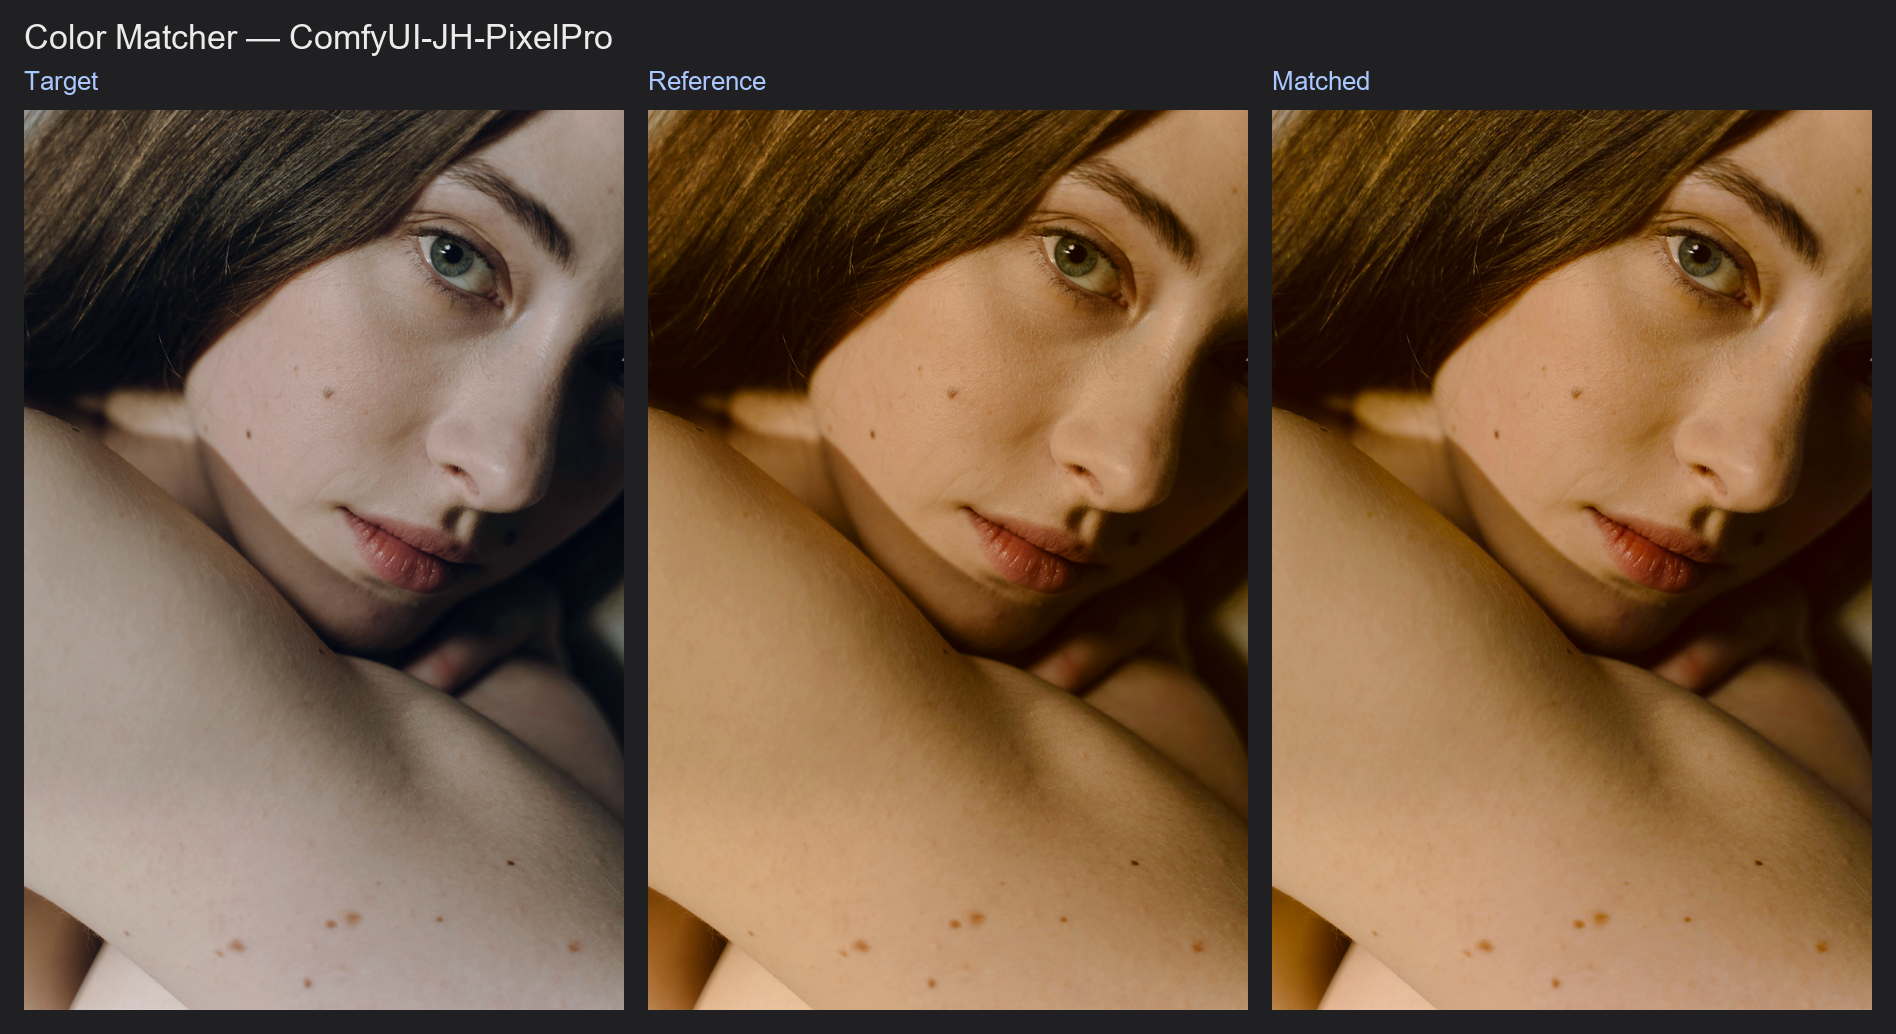
Stats vs histogram workflow runs both method values on the same pair side by side.