LUT Export
Turns a colour grade built in ComfyUI into a portable .cube file. Take your look to other apps, or load it back with LUT Import.
| In ComfyUI | Add Node → ComfyUI-JH-PixelPro → color → LUT Export (.cube) |
| Good for | Reusing a grade on many photos, sharing a look, matching video and stills |
When to use it
You have a grade you like, built from several ComfyUI colour nodes. A LUT freezes that grade into one small file. You can then apply it quickly, over and over, or open it in other software.
The LUT workflow
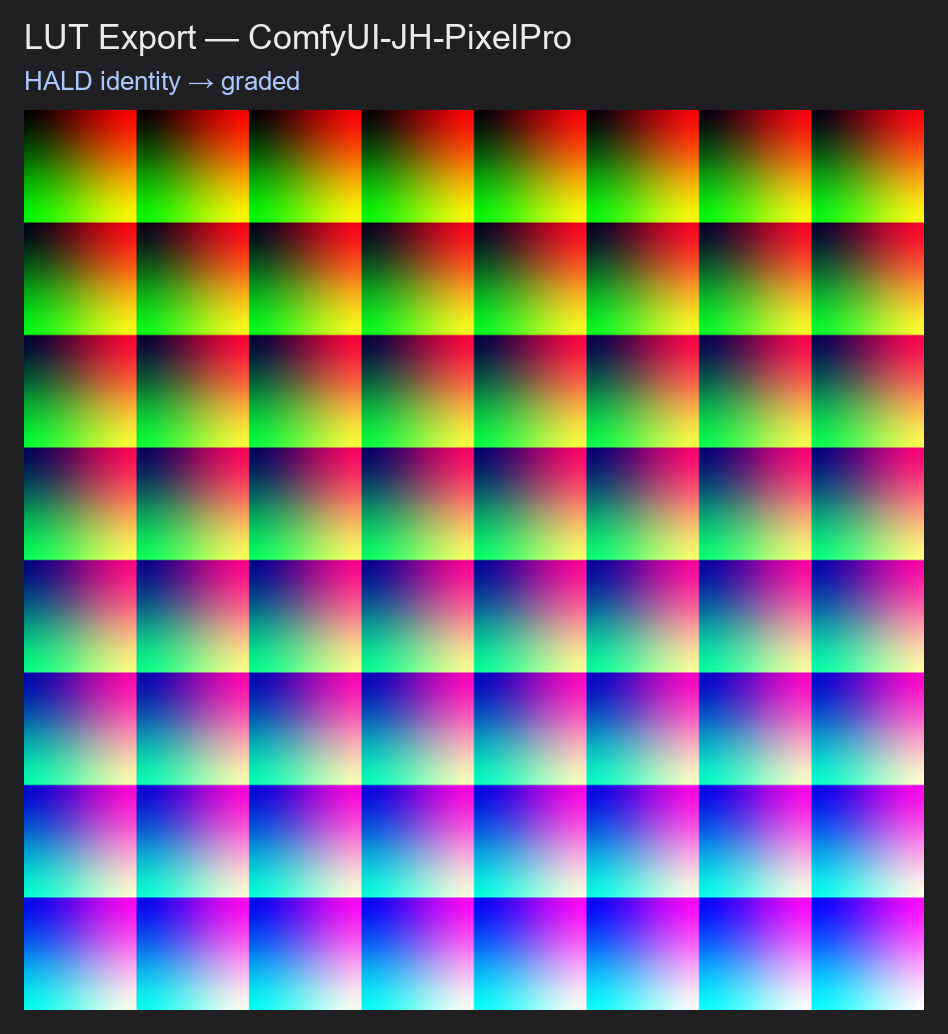
- HALD Identity makes a neutral colour chart.
- Colour nodes grade the chart, for example Tone Curve. Use colour-only nodes: no blur, sharpen, resize or crop.
- LUT Export reads the graded chart and writes a
.cubefile to ComfyUI'soutput/folder. - Use the
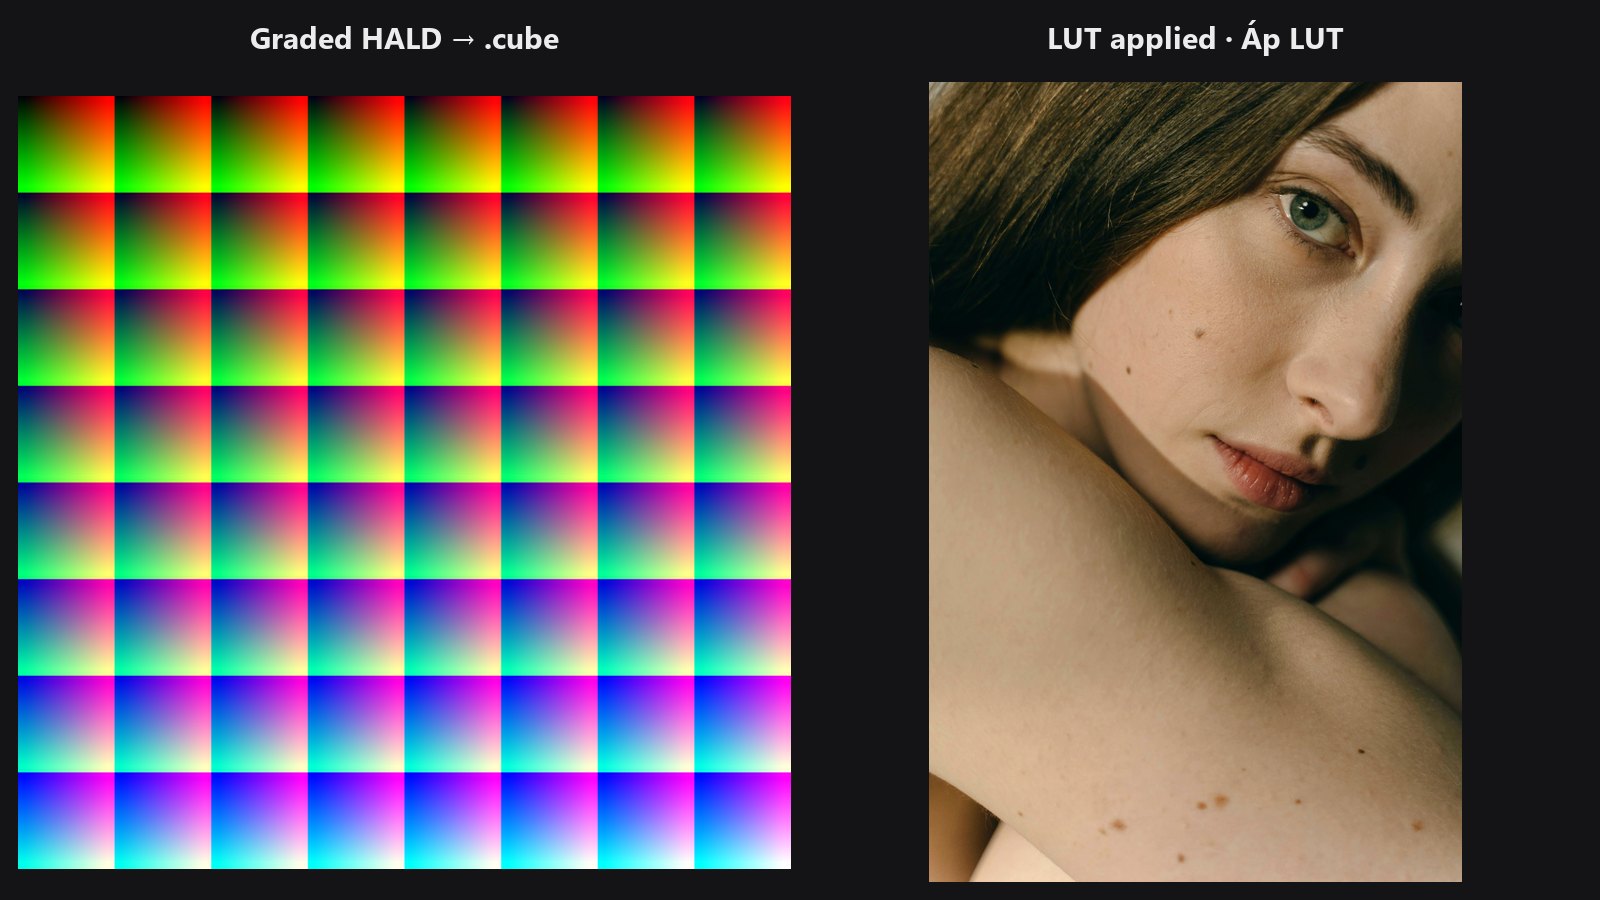
.cubefile:- In ComfyUI with LUT Import, on any photo, optionally through a mask.
- In other apps that read Adobe Cube 1.0 files. The project's release notes list DaVinci Resolve, Premiere Pro, OBS Studio and OCIO. Photoshop can load
.cubefiles too, through a Color Lookup adjustment layer.
Check the file in your target app before relying on it. This pack writes and reads the standard format, and has no OCIO or Photoshop integration of its own.
Quick start
- Add HALD Identity (
level8). - Connect its
imageto a colour node, such as Tone Curve, and set the grade. - Add LUT Export. Connect the graded image to
imageand HALD Identity'sleveloutput tolevel. - Set
filename(for examplemy_look.cube) andtitle, then queue the prompt. - Find the file in
ComfyUI/output/. The node'spathoutput shows where it was written.
Settings
| Setting | Default | What it does | Tip |
|---|---|---|---|
image |
— | The graded HALD chart. | Must be the full chart, same size as it left HALD Identity. |
level |
8 (range 2 to 16) | HALD level of the chart. | Must match HALD Identity; wire the two together. |
filename |
pack_lut.cube |
Output name. Relative names go to ComfyUI's output/ folder; absolute paths are used as given. .cube is added if missing. |
An existing file with the same name is overwritten. Pick a new name per look. |
title |
JHPixelPro LUT |
Name stored inside the file, shown by LUT browsers. | Use a descriptive name such as Warm Portrait v2. |
Output: path — the full path of the written .cube file.
Tips from retouching
- Keep the chain colour-only. If the LUT looks wrong in another app, a spatial node (blur, sharpen, resize) between HALD and Export is the usual cause.
- A LUT can only store colour changes that depend on each pixel's own colour. Local edits such as masks, dodge and burn, or skin smoothing cannot be baked in.
- Level 8 is plenty for creative looks. Go higher only for very steep curves.
- The output folder must exist. Missing parent folders for an absolute path raise an error.
- Test the new file straight away: LUT Import on a photo, with
strength1.0.
Under the hood
The chart must be exactly L³ × L³ pixels for the given level and contain only finite values, otherwise the node raises an error. Values are clamped to [0, 1]. The file has the headers TITLE, LUT_3D_SIZE (L²), DOMAIN_MIN 0 0 0 and DOMAIN_MAX 1 1 1, followed by N³ lines (N = L²) of r g b with six decimals, red changing fastest, then green, then blue. Lines end with LF. Only the first image of a batch is exported. The write is plain file I/O, so there is nothing to speed up on a GPU.
Related nodes
- HALD Identity — the neutral chart to start from.
- LUT Import — apply the
.cubeback in ComfyUI. - Tone Match LUT — create a LUT from a reference photo in one step.
- LUT Preset — bundled looks, no export needed.
Example workflow
LUT Export example workflow. HALD Identity makes a neutral chart, Tone Curve grades it, and LUT Export writes pixelpro_demo.cube to ComfyUI/output/; a Preview Any node shows the file path. No input image is needed. Open LUT Import to apply the file.