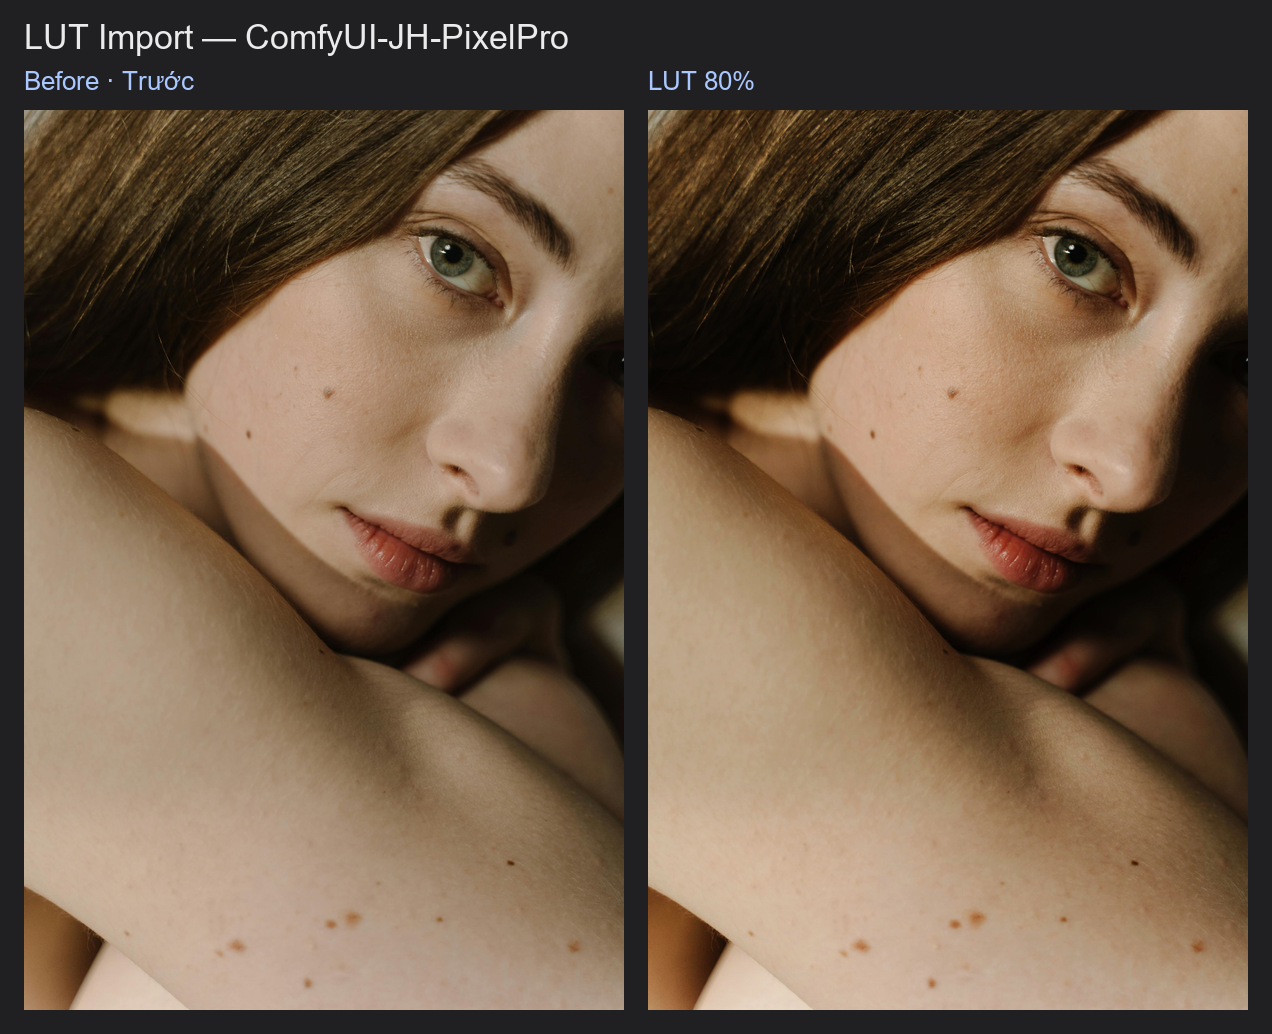
LUT Import
Applies any Adobe Cube 1.0 .cube LUT to your photo. Use looks from other colourists, LUTs you exported from ComfyUI, or LUTs made in other apps.
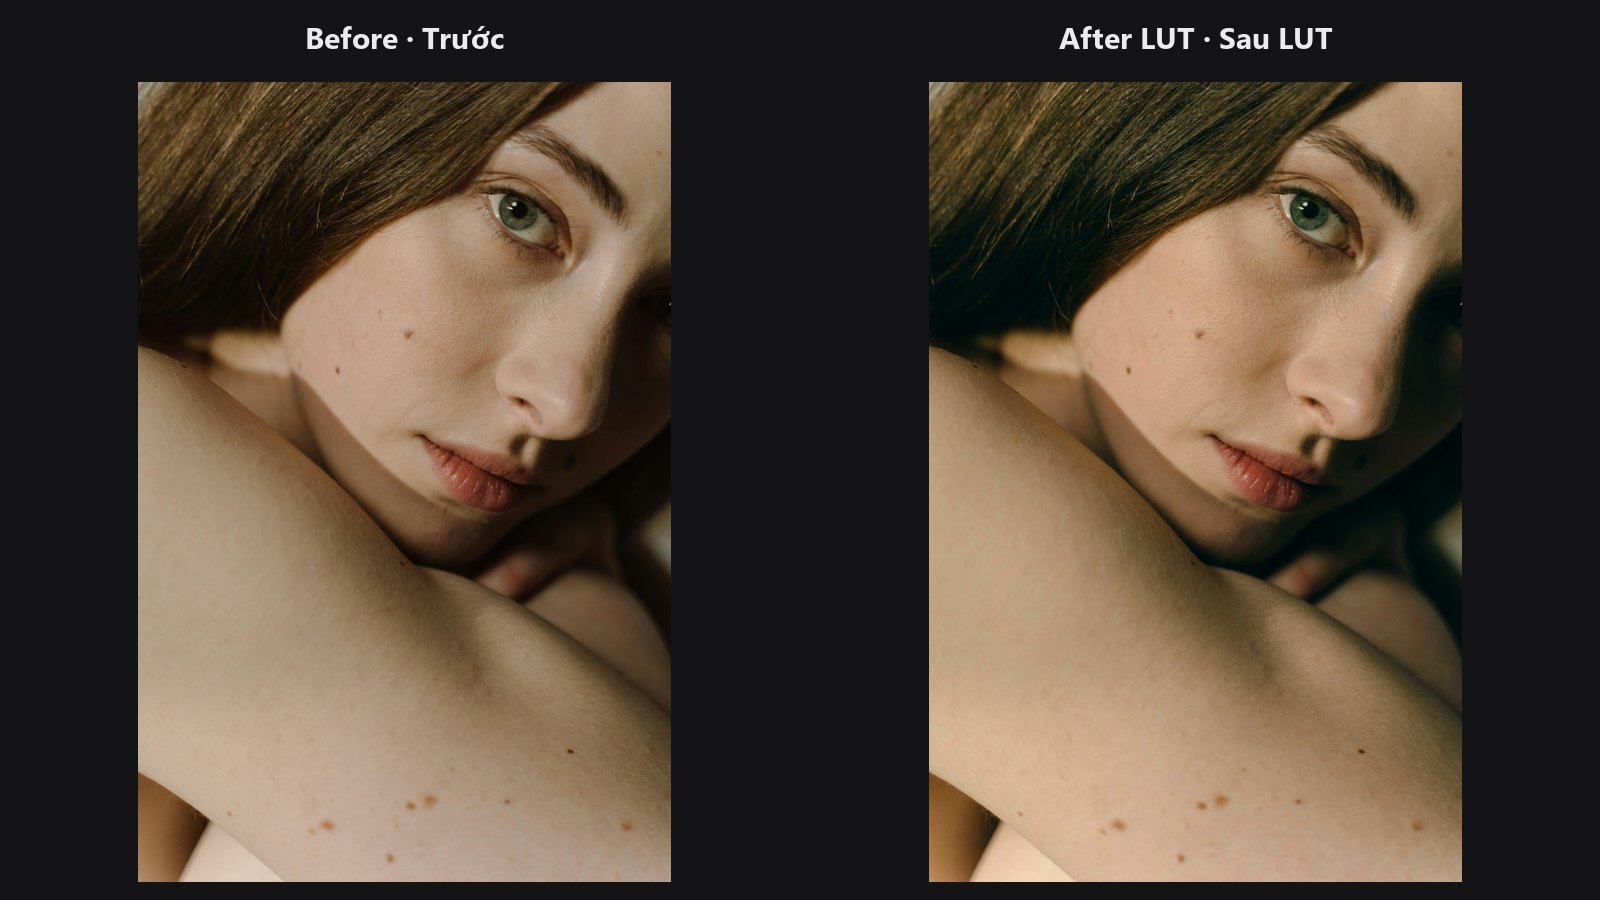
| In ComfyUI | Add Node → ComfyUI-JH-PixelPro → color → LUT Import (.cube) |
| Good for | Applying a favourite look, reusing a LUT from LUT Export, grading only part of a picture through a mask |
| Speed | About 0.5 s for a 2048 × 2048 image with a 65-point LUT on a CPU-only runner (from the project release notes). A GPU is faster. |
When to use it
A LUT (look-up table) is a saved colour grade in a small file. LUT Import reads that file and applies it to every pixel. Since it works on colour only, it is fast and gives the same result every time.
This node closes the loop of the LUT workflow: HALD Identity, grade, LUT Export, then LUT Import on any photo. It also loads .cube files that did not come from this pack.
For the six looks bundled with the pack, LUT Preset is quicker because it needs no file path.
Quick start
- Copy your
.cubefile intoComfyUI/input/. - Connect Load Image → LUT Import (.cube) → Preview Image.
- Type the file name in
filename, including.cube(for examplemy_look.cube). - Set
strengthto 0.7 to 0.8 for a subtle dose, or 1.0 for the full look.
To grade only part of the picture, connect a MASK (for example from Saturation Mask) to the optional mask input.
Settings
| Setting | Default | What it does | Tip |
|---|---|---|---|
filename |
pack_lut.cube |
Path to the .cube file. A relative name is looked up in ComfyUI's input/ folder; an absolute path is used as written. |
The .cube extension is not added for you. Type the full file name. |
strength |
1.00 | Mix between original (0) and full LUT (1). | 0.5 to 0.8 for a gentle creative look. |
mask (optional) |
none | Limits the LUT to the white parts of the mask; grey parts get a partial effect. | Feather the mask for smooth transitions. |
Output: image — the graded image.
Where files are read from
LUT Export saves to ComfyUI/output/, but LUT Import reads relative names from ComfyUI/input/. Copy the file across, or give the full path.
Tips from retouching
- Many creative LUTs are made for a specific colour space (for example log video). On a normal sRGB photo they can look flat or too strong. Lower
strengthor try a different LUT. - Do skin retouching first, then the look. A strong LUT can exaggerate blotchy skin.
- Use
maskto keep the LUT off skin or off a logo. Build the selection with Saturation Mask or Luminosity Masking. - Only 3D LUTs are supported (files with
LUT_3D_SIZE). One-dimensional LUTs are rejected.
Under the hood
The file is parsed for TITLE, LUT_3D_SIZE (2 to 256), DOMAIN_MIN and DOMAIN_MAX; the body must contain exactly size³ lines of three numbers, or the node raises an error. The image is clamped to the domain, normalised, and sampled with trilinear interpolation via grid_sample (border padding, no extrapolation). The result is blended as in * (1 - s) + lut(in) * s, where s is strength multiplied by the mask. Masks can be (B, H, W) or (B, 1, H, W). Tetrahedral interpolation is not implemented. The image must be RGB with three channels; alpha is not supported.
Related nodes
- LUT Export — create the
.cubethis node reads. - HALD Identity — the chart that starts an export.
- LUT Preset — six bundled looks, no file needed.
- Tone Match LUT — generate a LUT from a reference photo.
Example workflow
LUT Import example workflow. The workflow builds its own LUT (HALD Identity → Tone Curve → LUT Export) and wires the file path into LUT Import, so it runs without any extra file. For your own LUT, type its file name (relative names are read from ComfyUI/input/) or an absolute path. Copy workflows/sample_portrait.jpg into ComfyUI/input/.