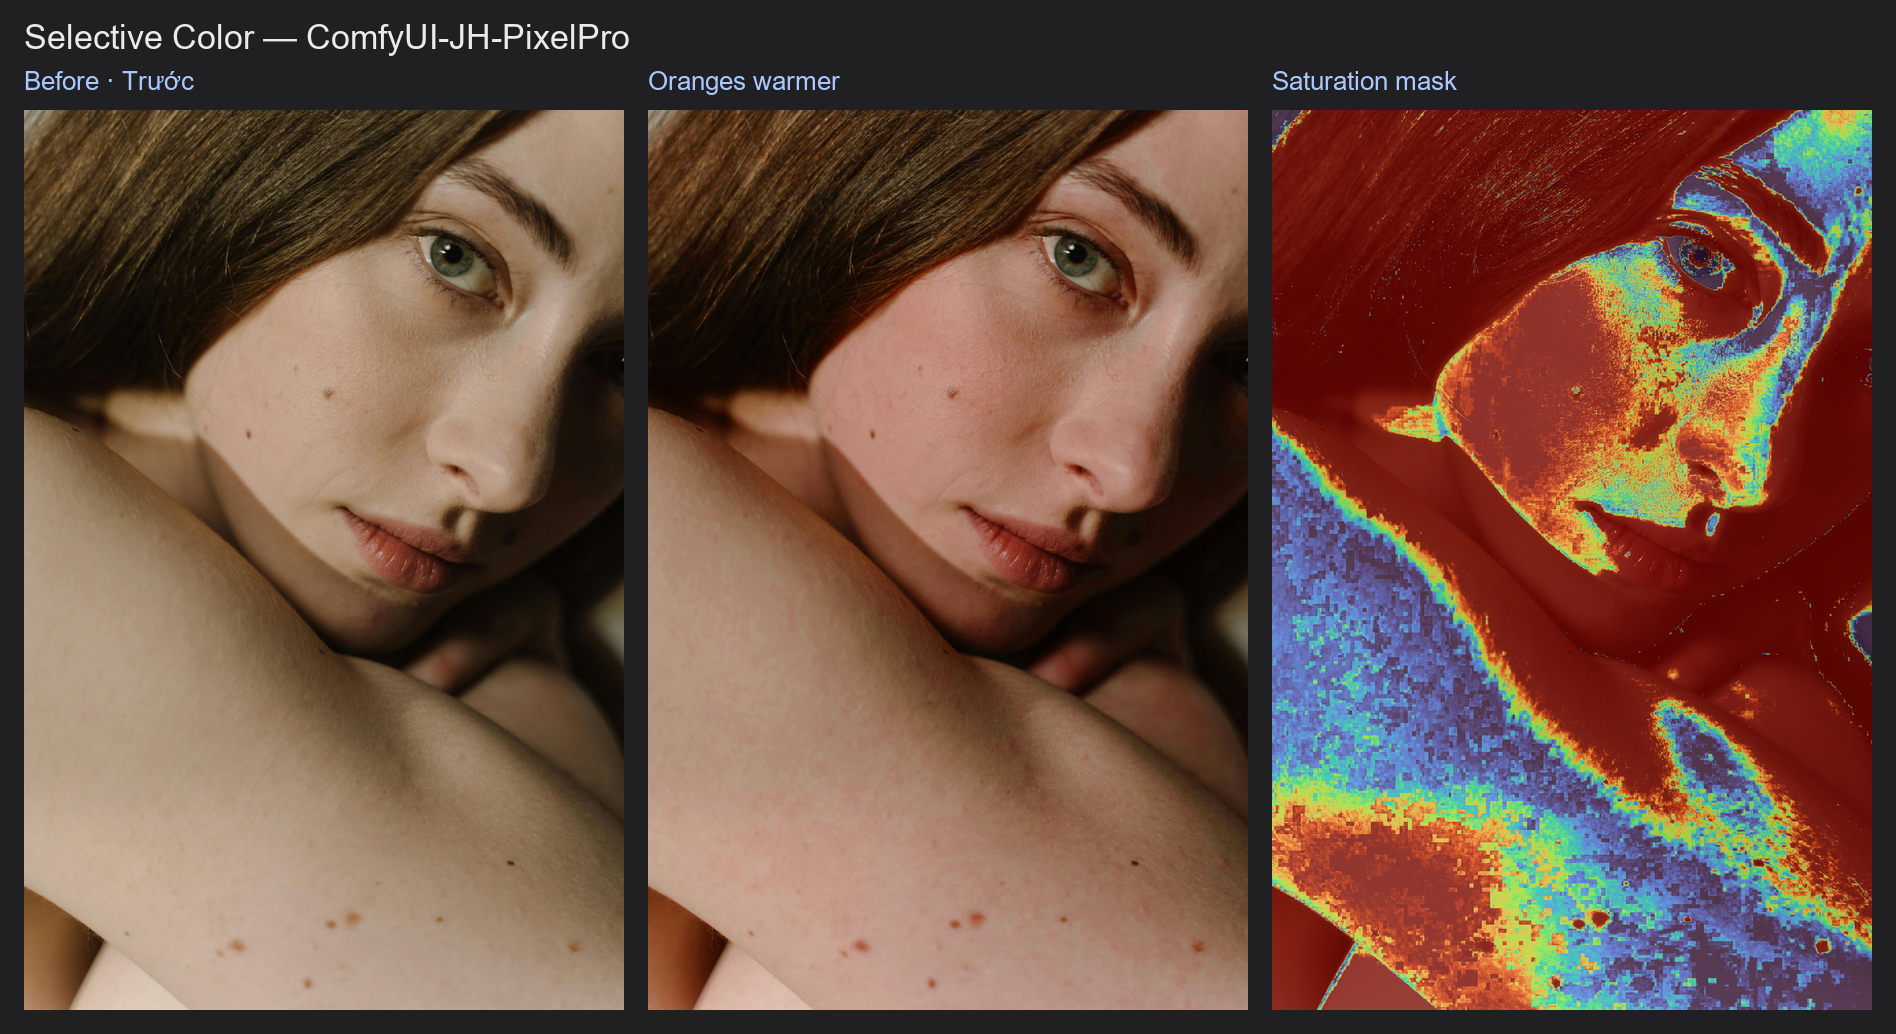
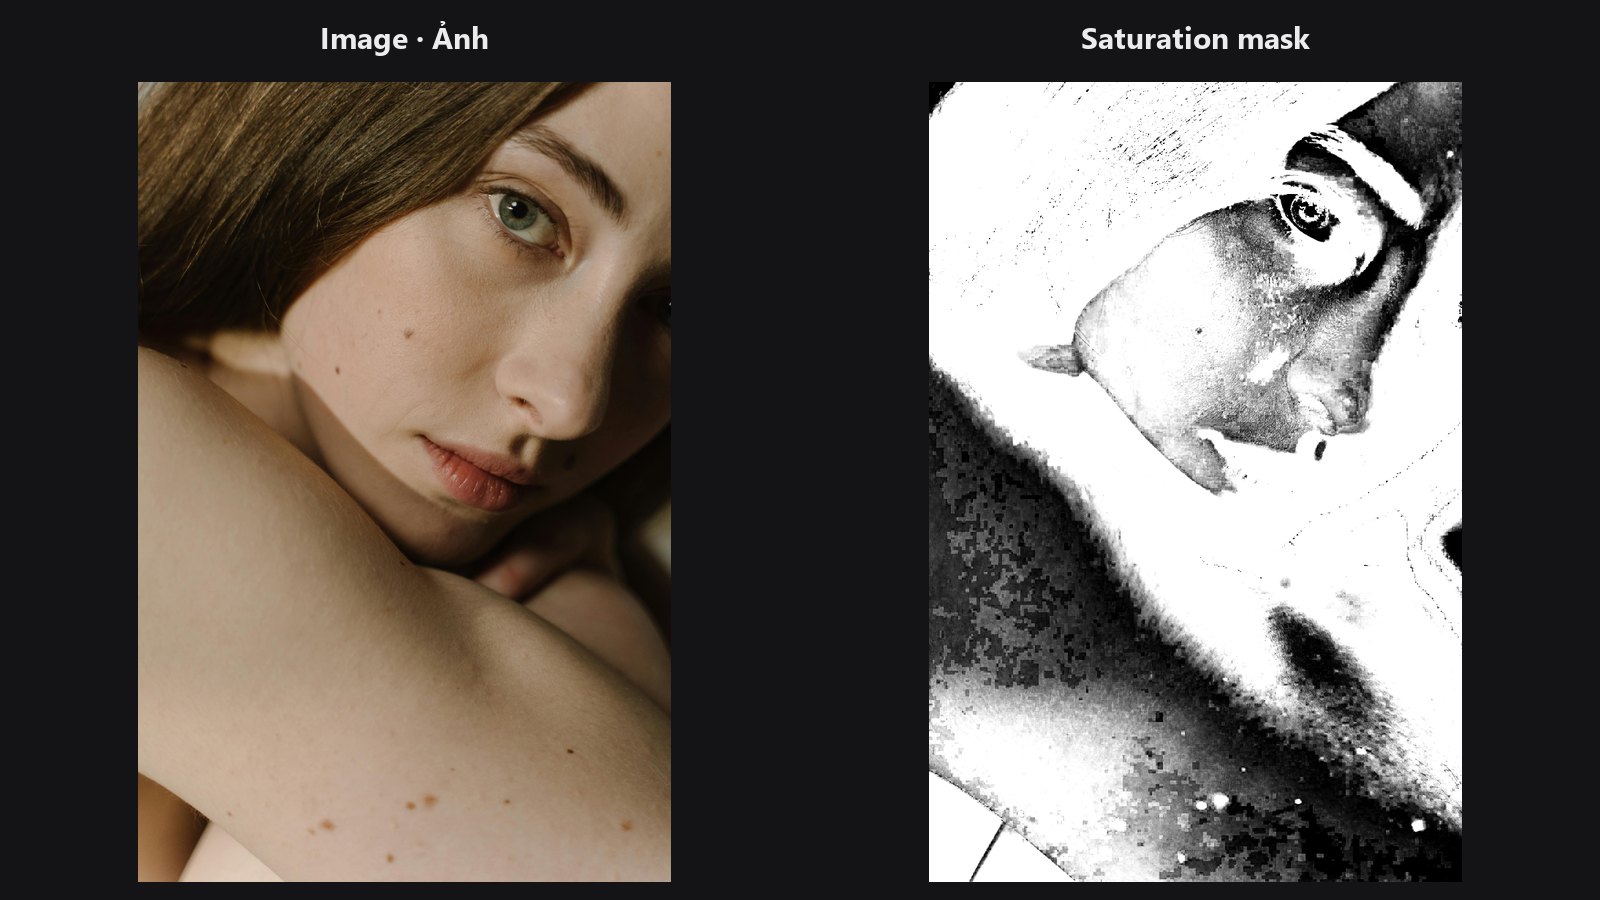
Saturation Mask
Selects pixels by how vivid they are, not by where they are. Use it to grab only the loud colours, only the dull ones, or everything in between.
| In ComfyUI | Add Node → ComfyUI-JH-PixelPro → color → Saturation Mask Builder |
| Good for | Taming oversaturated clothing or backgrounds, boosting only dull areas, protecting already-vivid colours from a grade |
When to use it
Saturation is how strong a colour is: a neon sign is highly saturated, a grey wall has almost none. A saturation mask works like a luminosity mask (a selection made from brightness), but it follows colour strength instead.
Typical uses:
- Pull down only the over-saturated reds in a dress without touching skin.
- Lift only the flat, washed-out areas.
- Feed the mask into any node that accepts a
MASK, such as LUT Import, so a grade only lands where you want it.
The value is measured as HLS saturation (hue, lightness, saturation), the same idea as the saturation slider in most editors.
Quick start
- Connect Load Image → Saturation Mask Builder.
- Leave
sat_minat0.30andsat_maxat1.00to select the vivid part of the picture. - Connect the
maskoutput to Mask Preview to see the selection, or to themaskinput of another node. - Move
sat_minup to narrow the selection to only the strongest colours.
Settings
| Setting | Default | What it does | Tip |
|---|---|---|---|
sat_min |
0.30 | Lowest saturation that is included (0 to 1). | Raise it to ignore dull areas. |
sat_max |
1.00 | Highest saturation that is included (0 to 1). Must be larger than sat_min. |
Lower it to leave the most vivid colours out. |
feather |
0.10 | Softness of the edges around both limits (0 to 1). | 0 gives a hard on/off mask; 0.05 to 0.15 avoids visible steps. |
Output: mask — a MASK with values from 0 (not selected) to 1 (fully selected), one per image in the batch.
Tips from retouching
- Keep some
feather. A hard threshold on saturation produces blotchy, noisy selections on skin and fabric. - To protect already-vivid colours, select a low range (for example
sat_min0,sat_max0.4) and apply your grade through that mask. - Skin sits in a middle saturation band. If a grade is affecting skin, combine this mask with a hue selection using Hue/Saturation per Range.
- Clean up speckles with Mask Cleanup before using the mask on a final export.
Under the hood
The image is converted to HLS and the saturation channel is compared with the range. With feather at 0 the result is a binary mask. Otherwise each limit gets a smoothstep ramp of width feather (the lower ramp ends at sat_min, the upper ramp starts at sat_max), and the two are multiplied. sat_max must be strictly greater than sat_min, otherwise the node raises an error. The same function drives the saturation step inside some Look Select presets.
Related nodes
- Hue/Saturation per Range — adjust colour inside a hue band.
- Luminosity Masking — the brightness-based equivalent.
- Mask Combine — multiply or add this mask with other selections.
- Look Select — uses saturation masks inside some looks.
Example workflow
Selective color example workflow. It builds a Saturation Mask from the portrait, shows it as a heatmap, and uses Hue/Saturation per Range on one colour band. Copy workflows/sample_portrait.jpg into ComfyUI/input/. It uses only core ComfyUI nodes and this pack.